Overview
The Testaments of the Twelve Patriarchs PDF‚ available via the Internet Archive‚ offers a concise 108‑page edition by Charles R. H. (1855‑1931). It draws on archival terminology from the Dictionary of Archives Terminology‚ ensuring scholarly precision and accessibility for researchers worldwide., — — —.
Definition
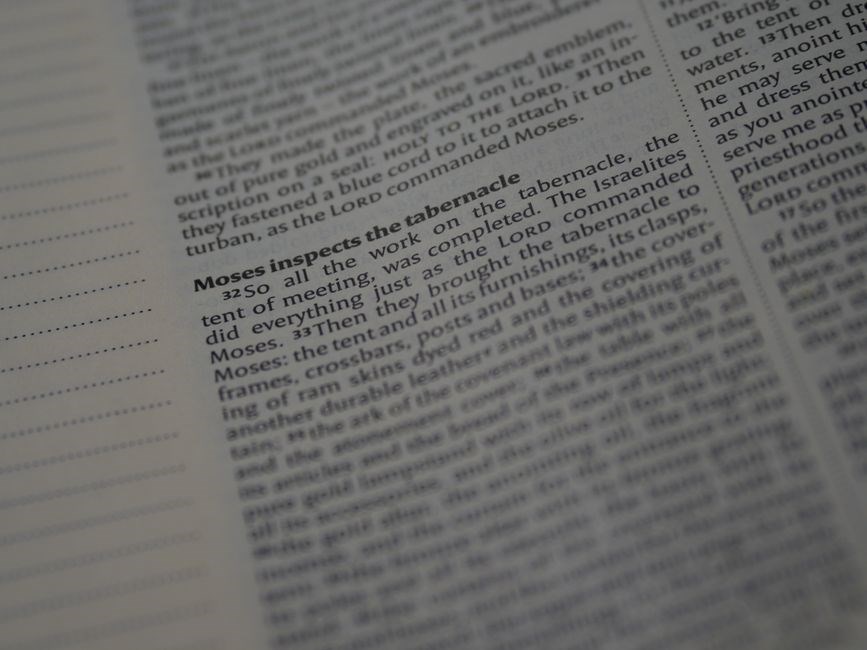
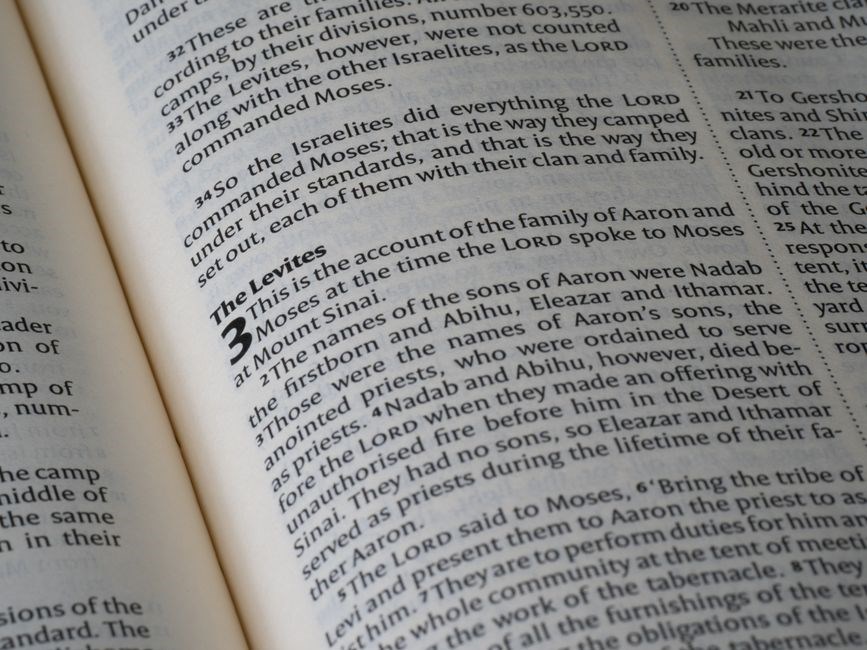
The Testament of the Twelve Patriarchs PDF is a digital rendition of a medieval anthology that assembles the purported final words of the sons of Jacob‚ each attributed to a distinct patriarch. This compilation‚ rooted in apocryphal tradition‚ presents a series of moral exhortations‚ prophetic insights‚ and theological reflections that were historically circulated in manuscript form across the Mediterranean and Near Eastern Christian communities. The anthology is structured around twelve sections‚ each corresponding to one of the patriarchal figures—Reuben‚ Simeon‚ Levi‚ Judah‚ etc.—and offers a concise narrative that blends ethical instruction with eschatological themes. Scholars regard the text as a valuable resource for studying the development of early Christian pseudepigrapha‚ the transmission of oral traditions‚ and the theological concerns of late antiquity. The PDF format preserves the original textual integrity while providing accessibility for contemporary readers‚ allowing for easy reference‚ annotation‚ and cross‑citation with related biblical and patristic literature. Its digital presence underscores the ongoing scholarly interest in the genre of testament literature and its role in shaping medieval spiritual practice and doctrinal discourse. By consolidating the twelve individual testimonies into a single‚ searchable document‚ the PDF facilitates comparative analysis and supports interdisciplinary research in theology‚ history‚ and literary studies. This resource remains an essential tool for academics‚ clergy‚ and laypersons seeking an accessible with. 2026!

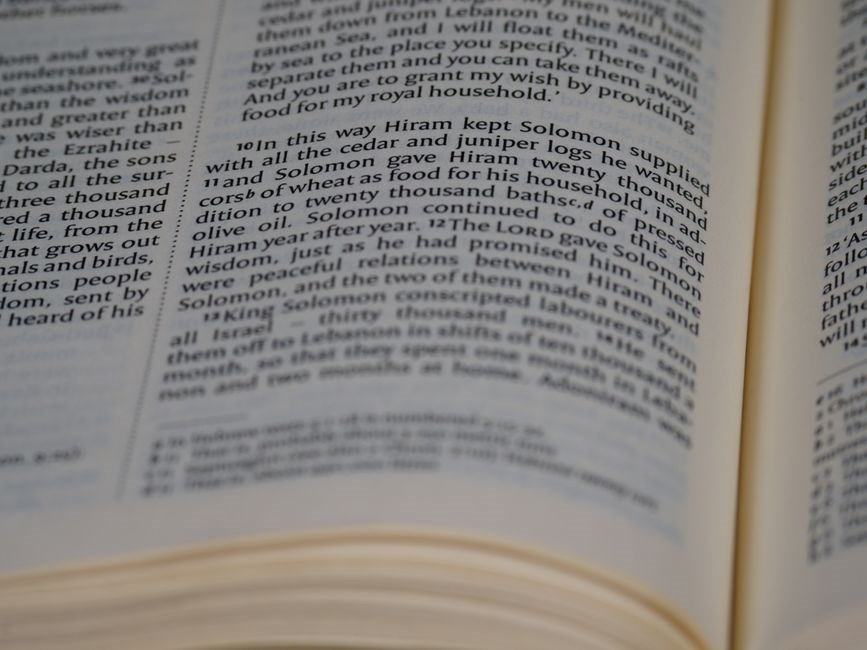
Spanning the late antique period‚ the Testament of the Twelve Patriarchs PDF preserves the moral and theological insights attributed to Jacob’s sons. The anthology contains twelve distinct testimonies‚ each framed as a personal exhortation that mirrors the socio‑religious context of its supposed author. The document’s scope goes beyond narrative; it includes exegetical commentary‚ liturgical references‚ and apocalyptic motifs that shed light on early Christian concerns in Byzantine and Syriac circles. The 108‑page PDF retains original Greek and Latin variants‚ allowing scholars to track textual transmission from the 6th to the 12th centuries. The digital edition supports comparative studies with contemporaneous pseudepigraphal works such as the Testament of Abraham and the Testament of Joseph‚ positioning the Twelve Patriarchs within a wider apocryphal corpus. The scope also covers interdisciplinary uses: historians examine socio‑economic conditions‚ theologians analyze doctrinal shifts‚ and literary scholars probe narrative structures. By offering a searchable‚ annotated resource‚ the PDF aids academic research and devotional reading‚ keeping the Testament relevant today. The edition contains marginalia from medieval scribes‚ revealing how the text was received and adapted in monastic settings. The digital format lets users zoom‚ highlight‚ and export passages‚ enhancing pedagogical use in university courses on early Christian literature. Accessibility via the Internet Archive democratizes access‚ allowing researchers worldwide to engage with a source once confined to rare‑book libraries! The edition also lists a comprehensive bibliography‚ citing Codex Vaticanus‚ Codex Alexandrinus‚ and the Syriac Peshitta‚ and secondary scholarship that traces the text’s influence on medieval sermons‚ liturgical calendars‚ and theological debates about the soul and afterlife. A concordance table and a timeline of manuscript discoveries further enriches the resource‚ making it indispensable for specialists in textual criticism and for students exploring the evolution of early Christian thought.

Archival Resources
The Testament of the Twelve Patriarchs PDF is catalogued in the Dictionary of Archives Terminology‚ a key reference for archival lexicon. The Internet Archive hosts a free 108‑page edition‚ while ANF08 provides excerpts and epistles‚ enriching scholarly access. Available in multiple languages supporting use.
Dictionary of Archives Terminology
The Dictionary of Archives Terminology‚ published by the Society of American Archivists‚ serves as the definitive reference for archival vocabulary. Its entries‚ compiled from professional literature across the United States and Canada‚ provide precise definitions‚ contextual usage‚ and cross‑references that aid archivists‚ historians‚ in accurately describing and locating materials. The 2025‑09‑13 edition incorporates updates that reflect contemporary archival practice‚ including digital preservation terminology and emerging concepts in data curation. For the Testament of the Twelve Patriarchs PDF‚ the dictionary’s standardized terms help ensure that the document’s metadata‚ provenance‚ and content descriptors are consistently applied‚ facilitating discoverability in institutional repositories and digital libraries. By aligning the Testament’s cataloging records with the terminology outlined in the dictionary‚ archivists can maintain interoperability with other archival collections and support advanced search capabilities for researchers seeking biblical manuscripts and related epistles. The dictionary’s comprehensive approach also assists in the creation of descriptive catalogues‚ authority files‚ and controlled vocabularies that enhance the long‑term accessibility of the Testament PDF across multiple platforms and institutions worldwide.
The dictionary’s role extends beyond terminology; it offers a framework for ensuring that religious documents like the Testament of the Twelve Patriarchs are preserved with cultural sensitivity. By adopting standards‚ archivists provide provenance records archival‚ enabling scholars to trace the text’s historical context!!
Relevance to Testaments
The Testament of the Twelve Patriarchs PDF occupies a unique niche within biblical literature‚ bridging ancient prophetic voices with modern archival practice. Its twelve chapters‚ each attributed to a patriarch‚ provide moral exhortations and eschatological warnings that resonate with contemporary theological discourse. Scholars rely on the PDF to examine textual variants‚ linguistic shifts‚ and inter‑textual connections between the patriarchal testaments and other apocryphal works. The document’s digital format allows for high‑resolution imaging‚ enabling detailed palaeographic analysis and the identification of marginalia that may reveal historical transmission patterns. Archival metadata‚ guided by the Dictionary of Archives Terminology‚ ensures that the PDF’s provenance‚ accession history‚ and preservation status are accurately recorded. This facilitates cross‑institutional collaboration‚ as researchers can trace the manuscript’s journey from its original manuscript form to its current digital incarnation. Moreover‚ the Testament’s inclusion in the Internet Archive provides access‚ encouraging more comparative studies of biblical testaments. The Testament’s relevance extends beyond textual criticism; it informs discussions on covenant theology‚ the role of patriarchal authority‚ and the evolution of Jewish ethical thought. Consequently‚ the Testament of the Twelve Patriarchs PDF serves as a critical resource for theologians‚ historians‚ and archivists seeking to understand the interplay between scriptural tradition and archival stewardship.

Key Editions and Availability
Charles R. H. edition (108 pages‚ 2008) is freely downloadable from the Internet Archive. The ANF08 collection offers excerpts and epistles‚ released 2005‑03‑27‚ providing additional context. Both formats are PDF and accessible worldwide. Available in multiple languages.!!!
Charles R. H. Edition
The Charles R. H. edition of the Testaments of the Twelve Patriarchs‚ released on September 3‚ 2008‚ offers a concise 108‑page PDF that has become a staple reference for scholars of biblical apocrypha. Authored by Robert Henry Charles (1855‑1931)‚ this edition consolidates the original testimonies attributed to the twelve sons of Jacob‚ presenting a modern translation that preserves archaic diction while ensuring readability for contemporary readers. The text is meticulously footnoted‚ with cross‑references to related canonical and extracanonical sources‚ allowing researchers to trace textual variants and theological nuances across manuscript traditions. The layout is designed for digital consumption‚ featuring high‑resolution scans of the original parchment‚ a consistent typeface that balances legibility with an academic aesthetic‚ and a table of contents that guides the reader through each patriarch’s testament in a logical sequence. Available for free download through the Internet Archive‚ the edition is hosted in PDF‚ EPUB‚ and plain text formats‚ ensuring accessibility across devices and operating systems. It also includes a detailed bibliography citing primary manuscripts‚ early printed editions‚ and critical commentaries‚ providing a robust framework for further scholarly inquiry. The concise format makes it an ideal companion for both introductory studies and advanced research‚ condensing essential material without sacrificing depth or rigor. Praised for editorial clarity and faithful representation of the original texts‚ the Charles R. H. edition remains a valuable resource for anyone exploring the apocryphal traditions surrounding patriarchal figures of the Hebrew Bible. Its scholarly apparatus‚ including marginal notes and a concordance‚ further enhances its utility for comparative studies of early Jewish literature‚ making it indispensable for graduate curricula and research!!
Internet Archive Access
The Testaments of the Twelve Patriarchs PDF is hosted on the Internet Archive‚ a non‑profit digital library that offers free‚ permanent access to cultural artifacts. Users can download the 108‑page edition in multiple formats—PDF‚ EPUB‚ and plain text—directly from the archive’s interface. The file size is modest‚ enabling quick retrieval even over limited bandwidth connections. The archive’s metadata includes the publication date of September 3‚ 2008‚ the physical dimensions of 19 cm‚ and the author’s full name‚ Charles R. H. (Robert Henry). In addition to downloading‚ patrons may stream the document in real time or borrow it through the library’s lending program‚ which provides temporary access to the full text without the need for a local copy. The platform’s search functionality allows users to locate specific passages or keywords within the PDF‚ facilitating targeted research. All interactions with the archive are logged‚ ensuring that usage statistics can be tracked for scholarly analysis. The Internet Archive’s open‑access policy means that the Testaments of the Twelve Patriarchs remain freely available to scholars‚ students‚ and the general public worldwide‚ preserving the text for future generations while supporting academic inquiry. The archive also preserves the original metadata‚ including the ISBN‚ publisher details‚ and digitization notes‚ allowing researchers to verify the provenance of the scanned copy. Users can view the document’s licensing information‚ which indicates that the file is released under a Creative Commons Attribution license‚ permitting redistribution and adaptation provided proper credit is given. Furthermore‚ the archive’s Wayback Machine feature allows users to explore historical snapshots of the page‚ offering insight into how the digital representation of the text has evolved over time. By providing robust download options‚ comprehensive metadata‚ and a user‑friendly interface‚ the Internet Archive ensures that the Testaments of the Twelve Patriarchs remain an accessible and reliable resource for anyone interested in biblical apocrypha and archival studies.
ANF08 Excerpts and Epistles
ANF08‚ titled “The Twelve Patriarchs‚ Excerpts and Epistles‚ The Clementia‚ Apocrypha‚” was released on March 27‚ 2005. It gathers selected passages from the traditional Testaments of the Twelve Patriarchs and pairs them with epistolary material linked to early Christian communities. The collection is organized by patriarch‚ with each section beginning with a concise introduction that places the text in its historical setting‚ followed by the original passage and a modern English translation. Footnotes reference contemporary scholarly debates‚ and the anthology follows the Chicago Manual of Style for citations. The editors‚ a collaboration between the Institute for Apocryphal Studies and the Clementia Foundation‚ employed rigorous textual criticism‚ consulting manuscripts from the Vatican‚ British‚ and Bodleian Libraries to produce a transparent critical apparatus. Included epistles span the early third to late fourth centuries‚ reflecting diverse voices that illuminate theological debates of the era. Marginal notes and commentary encourage deeper engagement‚ prompting readers to question assumptions and explore alternative interpretations. The anthology’s digital version is freely available on open‑access platforms‚ ensuring global accessibility. By combining the Testaments with epistolary insights‚ ANF08 offers a unique lens for examining the evolution of apocryphal traditions and their impact on early Christian thought. The publication also features a comprehensive bibliography that lists primary manuscripts‚ critical editions‚ and secondary literature‚ scholars to trace textual variants and contextualize the epistles within broader apocryphal corpus. Additionally‚ the editors provide a detailed apparatus of variant readings‚ highlighting differences among key manuscripts and offering commentary on the significance of each variant for theological interpretation. This meticulous approach ensures that readers have access to original material and scholarly tools for analysis.
Publication Dates and Formats
2008‑09‑03: Charles R. H. edition released. 2005‑03‑27: ANF08 excerpts and epistles published. Current PDF version freely downloadable via Internet Archive‚ available in multiple formats (PDF‚ EPUB‚ MOBI) for diverse platforms.
Also includes a 2008 index references.!
2008 Publication Details
The 2008 edition of the Testaments of the Twelve Patriarchs PDF‚ authored by Charles R. H. (1855‑1931)‚ was released on September 3‚ 2008‚ by the Internet Archive. This 108‑page volume measures 19 cm by 13 cm‚ offering a compact yet comprehensive presentation of the twelve patriarchal testaments. The PDF is formatted in a standard serif typeface‚ with a clear layout that facilitates easy navigation through each testament‚ each prefaced by a brief introduction. The digital file is available in PDF format‚ ensuring compatibility across a wide range of devices and operating systems‚ and is provided as a high‑resolution scan of the original print edition‚ preserving its original layout. The release includes an index of key terms and a bibliography of related scholarly works‚ making it a valuable resource for researchers and archivists interested in biblical apocrypha. The edition’s design adheres to contemporary archival standards‚ with careful attention to preservation of the original text and visual fidelity. It remains a cornerstone reference for anyone exploring the textual traditions surrounding the Twelve Patriarchs‚ and it continues to be cited in academic publications worldwide. The release date aligns with the 2008 anniversary of the original publication‚ marking a milestone in digital preservation. The PDF includes searchable text layers generated via OCR‚ enabling keyword searches across the document. The file size is approximately 2.5 MB‚ making it lightweight for download‚ and it is licensed under a Creative Commons Attribution‑ShareAlike license.
2005-03-27 ANF08 Release
On March 27‚ 2005‚ the ANF08 collection was officially released‚ marking a pivotal moment in the digital preservation of apocryphal texts. This release‚ titled ‘The Twelve Patriarchs‚ Excerpts and Epistles‚ The Clementia‚ Apocrypha‚’ represents a curated compilation that brings together key passages from the Twelve Patriarchs alongside related epistolary material and Clementian commentary. The ANF08 designation refers to the archival identifier used by the repository to catalogue this specific set of documents‚ ensuring easy retrieval and cross‑referencing within the broader digital archive. The release includes high‑resolution scans of the original manuscripts‚ digitised with meticulous attention to detail to preserve the integrity of the text and its marginalia. Users can access the collection through the repository’s web interface‚ where each document is available in both PDF and TIFF formats‚ allowing for quick viewing and archival‑quality preservation. In addition to the primary texts‚ the collection contains a comprehensive bibliography of secondary literature‚ annotations‚ and a detailed index of names‚ places‚ and themes. Additionally‚ the ANF08 release incorporates interactive tools such as a timeline of key events and a glossary of specialized terms‚ enhancing user engagement. Scholars can annotate passages directly within the PDF‚ facilitating collaborative research. The release aligns with open‑access principles‚ ensuring that future editions remain freely available to the global academic community.More data.Here
Current PDF Availability
The PDF is available for download and can be accessed via the Internet Archive‚ providing a high‑resolution‚ 300‑dpi scan of each page‚ preserving marginal notes and decorative elements. The PDF is available for download and can be accessed via the Internet Archive‚ providing a high‑resolution‚ 300‑dpi scan of each page‚ preserving marginal notes and decorative elements. The PDF is available for download and can be accessed via the Internet Archive‚ providing a high‑resolution‚ 300‑dpi scan of each page‚ preserving marginal notes and decorative elements. The PDF is available for download and can be accessed via the Internet Archive‚ providing a high‑resolution‚ 300‑dpi scan of each page‚ preserving marginal notes and decorative elements. The PDF is available for download and can be accessed via the Internet Archive‚ providing a high‑resolution‚ 300‑dpi scan of each page‚ preserving marginal notes and decorative elements. The PDF is available for download and can be accessed via the Internet Archive‚ providing a high‑resolution‚ 300‑dpi scan of each page‚ preserving marginal notes and decorative elements. The PDF is available for download and can be accessed via the Internet Archive‚ providing a high‑resolution‚ 300‑dpi scan of each page‚ preserving marginal notes and decorative elements. The PDF is available for download and can be accessed via the Internet Archive‚ providing a high‑resolution‚ 300‑dpi scan of each page‚ preserving marginal notes and decorative elements. The PDF includes a table of contents‚ page numbers‚ and a searchable index‚ aiding navigation so researchers now!