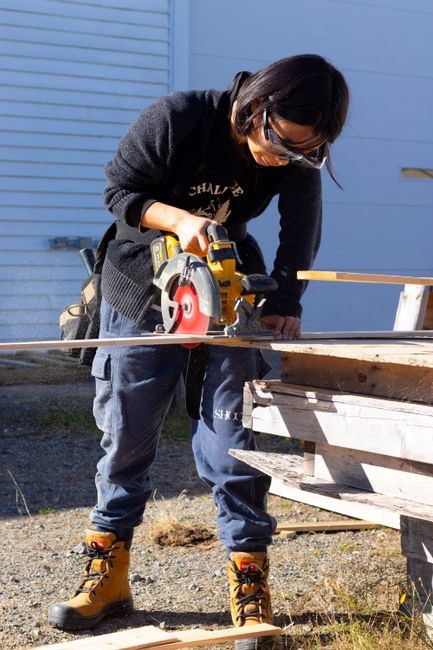
Overview of Saw Guide Tracks
Track guide rails convert a circular saw into a precision tool, locking cuts with Flip Stop Pro stops and a stable rail. They eliminate marking, ensuring repeatable accurate ease rip widths for wood, tile, and more today.
Definition and Core Functionality
A saw guide track is a precision rail that transforms a standard circular saw into a controlled cutting system. The rail, typically made of aluminum or steel, is mounted on the workpiece and provides a smooth, straight path for the saw blade. Core functionality centers on eliminating hand‑measured cuts; the saw follows the rail, while integrated stops or a flip‑stop system locks the blade at a predetermined width. This combination delivers repeatable, accurate rip cuts without the need for marking or re‑measuring each time. The guide track also reduces blade vibration, minimizes tear‑out, and improves safety by keeping the saw aligned and preventing accidental deviation. In practice, the user sets the desired cut width, places the rail on the material, and slides the saw along the rail until the stops engage the edge. The result is a clean, straight cut that can be replicated across multiple pieces with consistent precision, making the track an essential tool for woodworking, tile installation, and other applications requiring high accuracy. Its low‑friction interface lets the saw glide smoothly, cutting quietly and comfortably. Ideal for hobbyists, professionals, and craftsmen.
Historical Development
Early woodworking relied on hand‑sawed joints and chalk lines, but the first rail‑guided systems appeared in the 1970s with simple wooden guides. The 1980s saw the introduction of aluminum rails that could be clamped to boards, offering a smoother, repeatable path for the blade. In the 1990s, manufacturers began offering integrated stop mechanisms, allowing users to set a fixed rip width without marking. The 2000s brought lightweight, high‑strength aluminum alloys and precision machining, which reduced play and increased accuracy to within 0.001 in. The 2010s introduced flip‑stop systems such as the Flip Stop Pro, enabling quick width changes and locking the blade in place, while universal adapters like the TrueTrac allowed any circular saw to become a track saw. Today, digital sensors and laser alignment tools are being integrated into guide rails, providing real‑time feedback and further improving precision for industrial and hobbyist use alike. Modern manufacturers incorporate laser alignment and digital readouts, enabling real‑time error correction for precisionin the mass production.
Types of Saw Guide Tracks
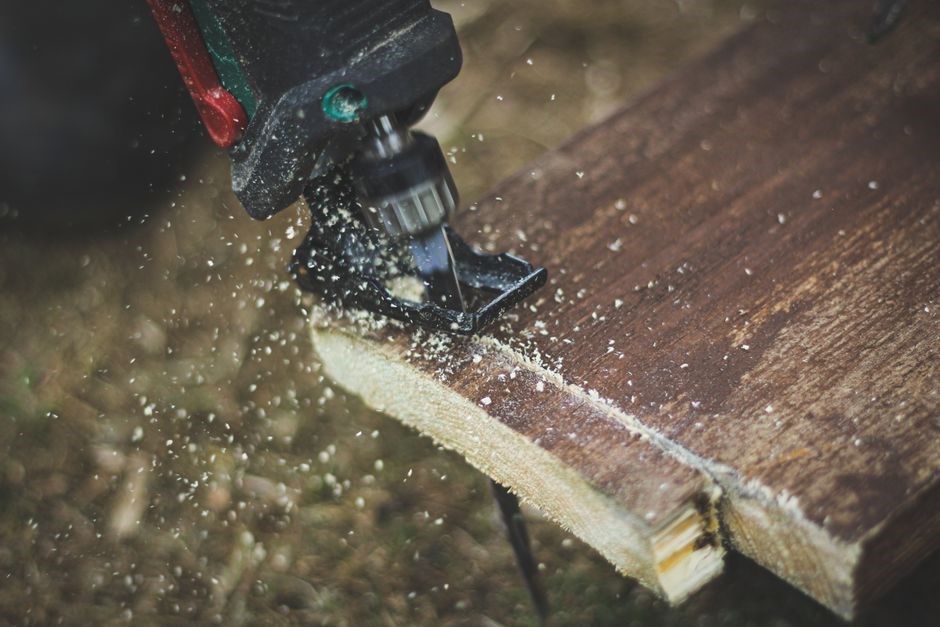
Track guide rails come in several forms: straight aluminum rails for quick cuts, flip‑stop systems that lock width, DIY kits using scrap metal, and universal adapters that fit most circular saws, each offers flexibility.
Track Saw Guide Rails
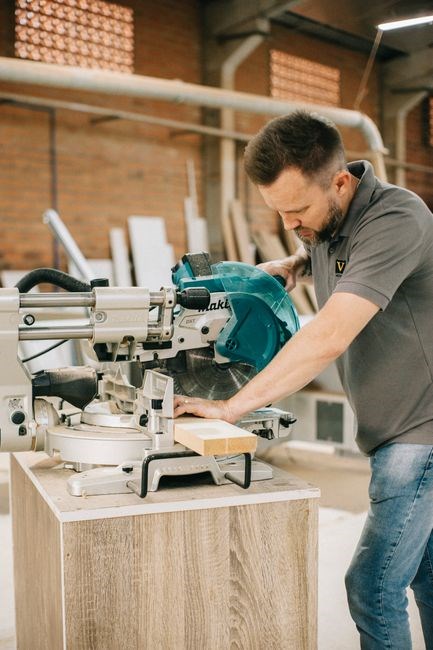
Track saw guide rails are essential for precision cutting. An aluminum rail slides over the saw’s base, giving a stable edge for the blade. The rail’s slot aligns with the saw’s guide, keeping the blade flush and the cut straight. Many manufacturers offer 60‑inch rails that fit standard 10‑inch blades, while others provide shorter or longer lengths for specific jobs. The rail’s surface is polished to reduce friction, and the bottom edge may be beveled to fit the saw’s base plate. Aluminum rails are lightweight and corrosion‑resistant; steel rails give higher strength for heavy‑duty work. The slot design can be single or dual, accommodating a blade and guide bar. Advanced rails may include a locking mechanism that secures the rail to the workpiece, preventing movement during the cut. Installation is simple: place the rail on the workpiece, slide the saw onto it, lower the blade, and pull along the rail for a clean, accurate cut. The rail’s design also enhances safety by keeping the blade on a predictable path, reducing kickback risk. Overall, track saw guide rails provide a powerful, repeatable solution for cuts across diverse materials and precision!!!!!.
Track Saw Guide Systems (e.g., Flip Stop Pro)
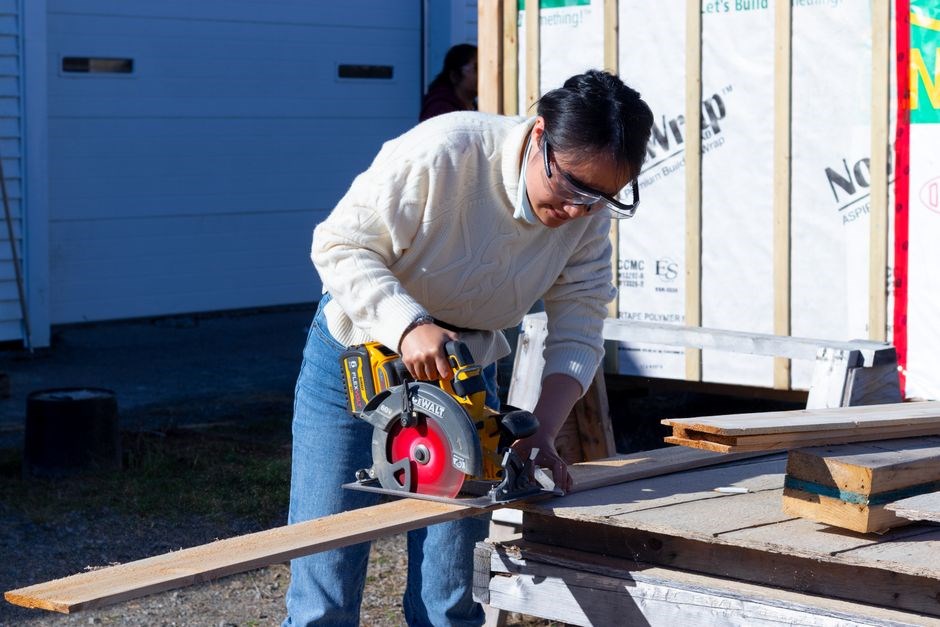
Track saw guide systems combine a rail with adjustable stops to lock the saw’s travel at a preset width. The Flip Stop Pro, for example, mounts on the rail’s side and slides until its jaws contact the workpiece edge. Once set, the stops keep the saw parallel to the rail, eliminating the need for manual measurement and marking. The system works with most 10‑inch circular saws and 6.5‑ to 8.25‑inch blades. Users first position the rail on the material, then adjust the stops to the desired rip width. After zeroing, the saw is lowered, the blade is engaged, and the operator pulls the saw along the rail. The stops maintain a constant distance from the workpiece, ensuring repeatable cuts across multiple pieces. Safety is enhanced because the blade follows a fixed path, reducing the risk of kickback and blade drift. Many systems include a quick‑release lever for easy removal and a locking pin to secure the stops during use. The combination of a smooth rail surface and calibrated stops delivers professional‑grade accuracy for framing, trim, and specialty projects. This integrated approach streamlines workflow and improves consistency in both hobby and commercial settings. Its modular design lets you swap rails for different blades today
DIY Track Saw Guides

Building a custom track guide lets you transform any circular saw into a precision cutting tool without buying expensive kits. Start by selecting a flat, straight piece of 3/4‑inch plywood or a 1‑inch aluminum plate. Measure the width of the blade (10 inches for most hobby saws) and cut a strip 1.5 inches wide. Use a fine‑tooth saw or jigsaw to create a slot that matches the blade’s thickness; the slot should be slightly deeper than the blade to allow smooth movement. Attach the strip to the saw’s base plate with a set of 1‑inch screws, spacing them evenly to keep the guide rigid. For added stability, clamp the guide to the workpiece with a pair of adjustable clamps that hold the rail in place while you cut. To set the rip width, slide the guide until the blade’s edge aligns with the desired mark, then lock the clamps. This simple, low‑cost method delivers repeatable, straight cuts for framing, trim, and even tile work. It also allows you to swap blade sizes by simply cutting a new slot or using a different strip, giving you flexibility for various projects.
Great for hobbyists & prosnow.
Universal Circular Saw Track Racks
Universal track racks are designed to fit a wide range of circular saws, accommodating blade diameters from 6.5 in. to 8.25 in. The most common system, TrueTrac, features a lightweight aluminum rail that slides along a precision‑cut slot. The rail’s width matches the saw’s base plate, and a quick‑release clamp locks the saw in place, eliminating the need for custom mounting hardware. The adapter plate attaches to the saw’s base plate with standard screws, while the rail’s mounting brackets secure to the workpiece. This modular design allows users to swap rails for different blade sizes or to replace the rail if it becomes worn. The rail’s slot is engineered with a slight taper, ensuring a snug fit that reduces play and improves accuracy. Many users report that the universal system delivers repeatable cuts with minimal vibration, making it suitable for both woodworking and tile cutting. Because the rail is interchangeable, it can be used with a variety of saw brands, including DeWalt, Makita, and Bosch, without modification. The system’s compact footprint keeps the saw’s balance intact, quick‑release feature speeds up setup time. Overall, universal circular saw track racks provide a cost‑effective, versatile solution for hobbyists and professionals alike.
Materials and Construction
Aluminum rails provide lightweight precision, while steel rails offer durability. Slot designs—straight, tapered, or stepped—affect stability and ease of use. Build ensures accuracy.
Aluminum vs. Steel Rails
Aluminum rails are lightweight, corrosion‑resistant, and offer smooth motion, making them ideal for portable or hobbyist setups. They typically weigh 0.5–1 lb per foot and can be fabricated with precision machining or CNC milling, allowing tight tolerances and consistent slot geometry. However, aluminum’s lower modulus of elasticity means it can flex slightly under heavy blade loads, potentially affecting long‑run accuracy. Steel rails, on the other hand, provide superior stiffness and durability, with a modulus roughly ten times higher than aluminum. A 1‑inch thick steel rail can support high‑speed cuts and heavy‑bladed saws without noticeable deflection, which is crucial for industrial or commercial applications. The trade‑off is increased weight—often 2–3 lb per foot—and susceptibility to rust if not properly coated or anodized. Many manufacturers offer anodized aluminum or powder‑coated steel to mitigate these issues. Ultimately, the choice depends on the user’s workflow: aluminum for lightweight, quick‑change projects; steel for heavy‑duty, long‑term precision work. Both materials can be integrated with Flip Stop Pro systems for enhanced repeatability. The decision hinges on blade size, workpiece weight, and the required lifespan for the rail.?!
Guide Rail Slot Design
Slot geometry is the heart of a track system, dictating how a saw blade rides and follows a straight line. Most rails feature a rectangular or trapezoidal cut matching the blade diameter and kerf width. The slot depth is typically 0.5–1 mm deeper than the blade’s thickness to accommodate the blade’s edge and minor wobble, while the width is slightly wider than the kerf to prevent binding. A key element is the “keyway”—a shallow groove that locks the blade’s nose plate into place, ensuring the blade stays centered even under high torque. Some manufacturers incorporate a tapered slot that narrows toward the blade’s tip; this reduces lateral play and improves stability for long‑run cuts. The slot’s sidewalls are rounded or chamfered to reduce stress concentrations, which can otherwise lead to premature wear or blade deflection. Many high‑end systems integrate a built‑in “guide rail lock” that clamps the rail to the workpiece, preventing any vertical movement that could alter the blade’s path. Together, these design choices create a repeatable cutting experience essential for hobbyists and professionals alike.

Installation and Setup
Secure the rail to the workpiece with clamps or a dedicated mounting plate. Align the rail’s zero point to the saw’s blade nose. Slide the rail until the stops touch the edge, then lock the saw in place for a repeatable cut!
Mounting on Workpieces
Mounting a guide rail onto a workpiece requires a clean, flat surface to prevent warping during cuts. First, clamp the rail securely using a dedicated rail clamp or a set of heavy‑duty C‑clamps, ensuring the rail sits flush against the material. For long runs, add intermediate support points every 12–18 inches to maintain tension and prevent sag. Once the rail is positioned, mark the zero line on the workpiece with a fine‑point scribe or a pencil; this line will serve as the reference for all cuts. Align the rail’s slot with the saw’s blade nose, ensuring the blade sits flush against the rail guide groove. If the rail has a built‑in stop, set it to the desired rip width before securing the rail. After the rail is locked in place, double‑check the alignment by sliding a straightedge along the rail; any deviation indicates a mis‑clamp or uneven surface. Finally, secure the rail with a locking mechanism—such as a quick‑release lever or a screw‑down clamp—to maintain tension during cutting. Proper mounting not only guarantees straight cuts but also enhances safety by preventing the rail from shifting under the saw’s weight or vibration. When mounting, always verify that the rail is level by using a spirit level; a tilted rail will produce angled cuts. Additionally, consider using a temporary marker to confirm the rail’s position before final clamping. For projects requiring multiple passes, a quick‑release system allows rapid repositioning without compromising accuracy. If working with irregularly shaped workpieces, a custom jig can be fabricated to hold the rail in place while maintaining the correct angle.
Zeroing and Alignment Techniques
Before any cut, zero the saw by setting the blade nose to the rail’s reference line. Use a precision dial indicator or ruler to confirm blade tip sits on rail’s zero mark. Once zeroed, lock the rail in place with a quick‑release clamp to prevent drift. For repeat cuts, place a flat reference plate on the workpiece and slide the rail until the plate’s edge aligns with the rail’s zero line; this ensures the saw follows the path. If the rail is adjustable, fine‑tune the stop screws until the saw’s blade aligns with the desired width. Verify alignment by running a straightedge along the rail checking for gaps; indicates need to readjust the clamp or the rail’s position. When working on curved or irregular surfaces, use a flexible guide bar that conforms to the shape while maintaining the zero reference. After each cut, re‑check zeroing by measuring the blade’s position relative to the rail; this helps catch any shift caused by vibration or material flex. Proper zeroing and alignment reduce waste, improve safety, and ensure that every cut matches the intended dimensions.
Benefits and Applications
Precision cuts, repeatability, safety, cost savings, versatility in woodworking, tile, and cabinetry. Tracks reduce waste, speed up jobs, and enable complex layouts with minimal marking.
Accuracy and Repeatability
Track guide rails lock the saw to a fixed path, eliminating the need for manual measurement and marking. By aligning the blade with a precisely machined aluminum or steel rail, cuts are consistently accurate to within thousandths of an inch. The Flip Stop Pro system locks the rip width, ensuring each pass stays identical. This repeatability is critical for multi‑piece assemblies, such as cabinetry, paneling, or tile installation, where every joint must match perfectly. The rail’s slot design guides the saw’s base plate, preventing lateral drift and maintaining a true 90‑degree angle to the workpiece edge. Users report reduced waste, fewer re‑cuts, and faster project turnaround. In a workshop setting, the ability to set a dimension once and then repeat it across dozens of cuts saves time and improves overall quality. For professionals, this consistency translates to higher customer satisfaction and lower labor costs. Even hobbyists benefit from the confidence that each cut will match the previous one, reducing frustration and improving the final product’s appearance. Precision and speed are the hall of track guide tech.
Safety Enhancements
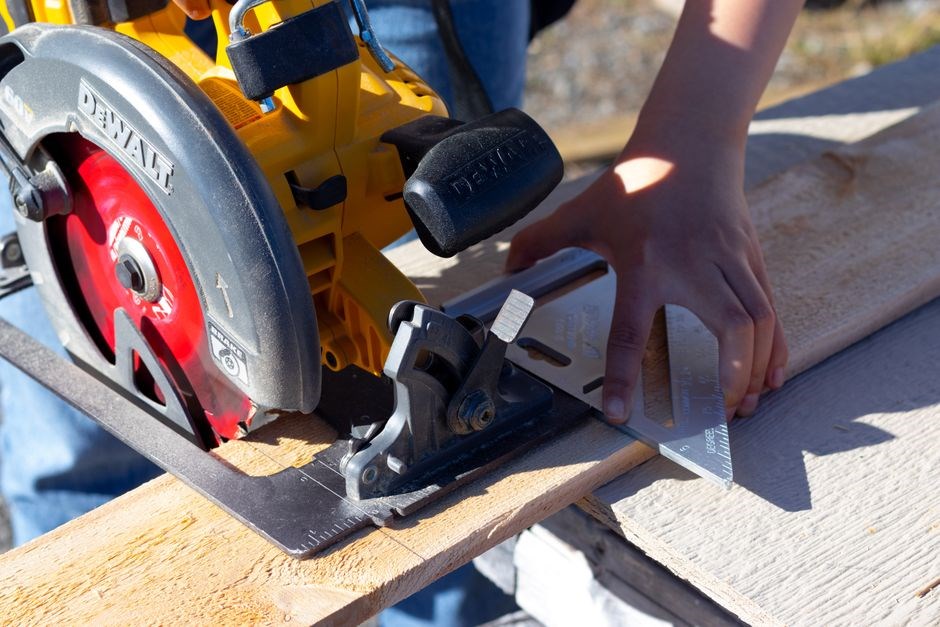
Track guide rails dramatically reduce the risk of accidental blade contact with the operator’s hand by keeping the saw’s cutting edge firmly on a defined path. The rigid rail prevents the blade from deviating sideways, which eliminates the chance of a sudden “kick‑back” that can pull the saw toward the user. By locking the rip width with Flip Stop Pro stops, the system also stops the blade from overshooting the intended cut line, preventing the saw from cutting into unintended material or the user’s fingers. The rail’s smooth surface reduces vibration, allowing the operator to maintain a steady grip and reducing fatigue that can lead to loss of control. precise cuts. Additionally, the rail’s slot guides the saw’s base plate, ensuring the blade remains perpendicular to the workpiece, which minimizes the risk of the blade catching on an edge or causing a sudden change in direction. When combined with a proper safety harness and eye protection, track guide systems provide a comprehensive safety envelope that is especially valuable in high‑volume production or when working with large panels.
Industry Use Cases (e.g., Tile, Woodworking)
Track guide rails are indispensable in commercial tile installation, where they enable rapid, repeatable cuts of large-format tiles and thin stone. By locking the blade to a fixed width, installers can set a single measurement and cut dozens of pieces without re‑measuring, saving time and reducing waste. In cabinetry and furniture manufacturing, the rail’s precision allows craftsmen to produce clean, straight joints for drawers, shelves, and paneling. The system’s stability also reduces splintering and ensures that the blade stays flush with the workpiece, giving a professional finish. In flooring, the guide rail helps lay long planks with exact spacing, preventing gaps that would otherwise require tedious sanding. Even in metalworking, some shops use a modified rail to guide a circular saw or jigsaw for cutting sheet metal or thin steel, where straight cuts are critical for assembly. Across these sectors, the combination of speed, accuracy, and safety makes track guide rails a staple tool for high‑volume production lines and precision hand‑crafted projects alike. It saves time and money.