Fishing is a popular and rewarding activity in Animal Crossing: City Folk, offering relaxation, creativity, and economic benefits. Players can catch various fish species, donate them to the museum, or sell them for bells. This guide provides essential tips, strategies, and insights to enhance your fishing experience, helping you become a skilled angler in the game.

Overview of Fishing in the Game
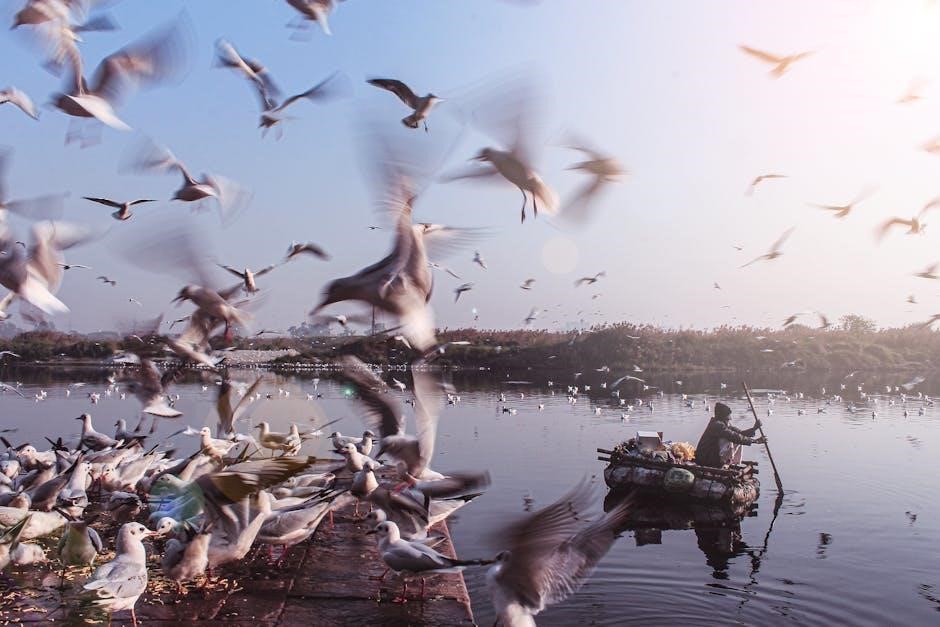
Fishing in Animal Crossing: City Folk is a versatile and engaging activity that allows players to explore different water bodies like rivers, ponds, and oceans. Each location hosts unique fish species, making exploration rewarding. Fish availability varies by time of day, weather, and season, adding a layer of strategy. Players can use bait to attract rare fish or upgrade their fishing rods for better chances. The game also features a museum where players can donate fish to complete collections. Additionally, fishing tournaments offer opportunities to compete and earn rewards. With its relaxing mechanics and depth, fishing becomes a core part of the game’s charm and economy.

Importance of Fishing in the Game Economy
Fishing plays a central role in the economy of Animal Crossing: City Folk, offering players a reliable way to earn bells. Rare and high-value fish, such as legendary species, can be sold for significant profits. This makes fishing a key activity for accumulating wealth, especially for players looking to upgrade their homes or purchase exclusive items. Additionally, fish donations to the museum contribute to completing collections, which unlocks special rewards. The economy also benefits from fishing tournaments, where players can win rare items and bells. Overall, fishing is not only a recreational activity but also a vital economic driver in the game, providing resources and opportunities for progression.

Basic Fishing Mechanics
Fishing in Animal Crossing: City Folk involves a simple yet engaging mechanic. Players start by approaching a body of water and selecting the fishing option. Once the line is cast, a bite may occur, indicated by a splash and a sound effect. When a fish bites, a minigame begins, requiring precise timing to press the A button and reel it in. The timing must align with the fish’s struggle to successfully land it. Larger fish put up more resistance, making the timing more critical. Players begin with a basic bamboo rod, which can be upgraded for better performance. The mechanics are intuitive, making fishing accessible to new players while still offering challenges for experienced ones. Mastery of timing and observation is key to success.
Fish Overview
The game features a variety of fish, each with unique characteristics and appearances. They can be caught, collected, and used for various purposes in game.

Types of Fish Available

The game offers a wide variety of fish species, categorized by their habitats. Freshwater fish include trout, bass, and sturgeon, found in rivers and ponds. Saltwater fish like tuna, sharks, and rays inhabit the ocean. Each fish type has unique characteristics, such as size, color, and rarity, making the fishing experience diverse and engaging. Players can encounter common fish like the smallmouth bass or rare ones like the coelacanth, depending on location and timing. The game’s fish collection system encourages players to catch and catalog these species, adding depth to the gameplay. With over 40 fish species available, the variety ensures endless opportunities for discovery and completion.
Fish Rarity and Value
Fish in Animal Crossing: City Folk vary in rarity and value, influencing their demand and price. Common fish, like the smallmouth bass, are easily caught and sell for modest amounts. Rare fish, such as the coelacanth, are highly sought after and command high prices at Tom Nook’s store. Legendary fish, like the largemouth bass, are extremely rare and valuable, making them prized catches. The game’s economy rewards players for catching rare fish, as they can sell for thousands of bells. This system encourages players to hunt for elusive species, adding a layer of challenge and achievement to the fishing experience. Understanding fish rarity and value is key to maximizing profits and progressing in the game.
Factors Affecting Fish Appearance
Fish appearance in Animal Crossing: City Folk is influenced by several factors. Time of day plays a significant role, with certain fish appearing only during specific hours. Seasons also impact availability, as some fish are exclusive to spring, summer, fall, or winter. Weather conditions, such as rain or snow, can affect which fish spawn. Additionally, the location within your town matters, as fish are more likely to appear in areas with flowing water, like rivers or waterfalls. Even the time of year and weather patterns in the real world, synchronized with the game, can influence fish behavior. Understanding these factors helps players optimize their fishing sessions and increases chances of catching rare species.
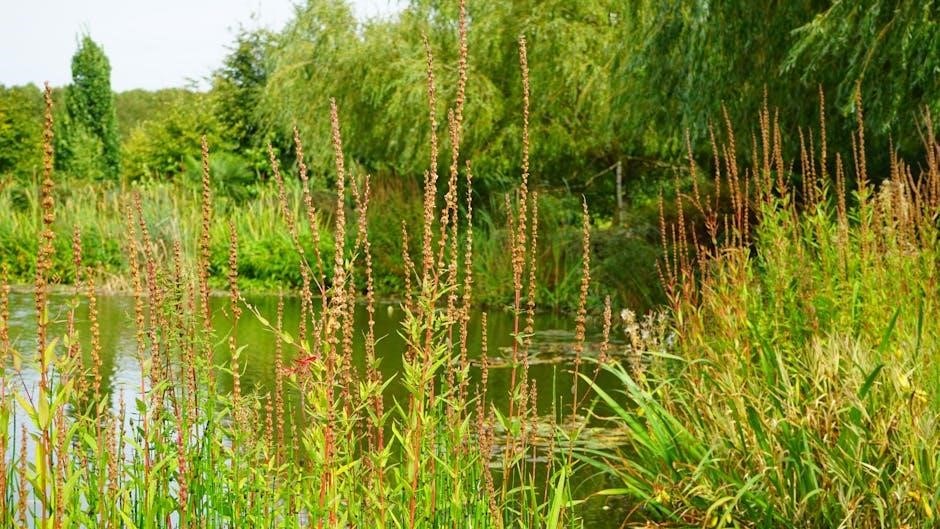
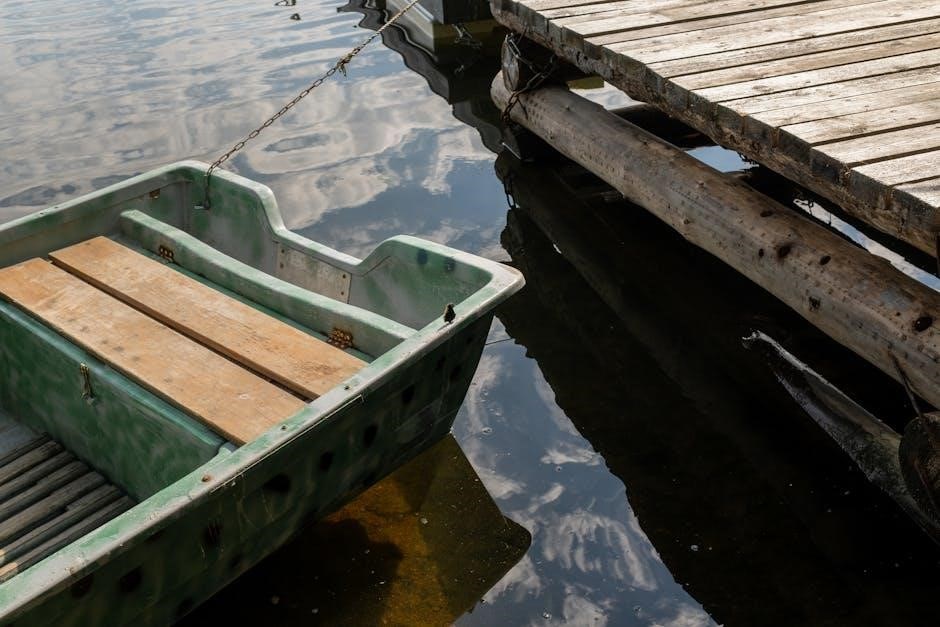
Fishing Locations
Animal Crossing: City Folk offers diverse fishing spots, including rivers, ponds, and ocean areas. Each location has unique fish types and conditions. Explore to find your favorites.
River Fishing Spots
In Animal Crossing: City Folk, river fishing spots are abundant and diverse. Rivers flow through the town, offering prime fishing locations near bends, waterfalls, and shallow areas. These spots attract various fish species, including trout, salmon, and other freshwater fish. Fish activity varies by time of day and season, so anglers must adapt. Rivers are ideal for catching common fish like the rainbow trout, while rare species occasionally appear near waterfalls. Players can enhance their river fishing success by using bait and understanding fish behavior. Explore different river sections to maximize catches and discover hidden gems in this serene yet rewarding fishing environment.
Pond Fishing Locations
Ponds in Animal Crossing: City Folk offer unique fishing opportunities. These small, freshwater bodies are scattered throughout the town and often surrounded by natural scenery. Ponds are home to specific fish species like the Crucian Carp and Koi, which thrive in still or slow-moving water. Fishing in ponds requires patience, as fish may be less active than in rivers or oceans. Weather conditions and time of day influence fish behavior in ponds. Using bait can increase chances of catching rare pond-dwelling fish. Ponds also provide a peaceful environment for anglers to relax and enjoy the game’s calming atmosphere. Exploring different ponds can reveal hidden fishing spots and contribute to completing your fish collection.
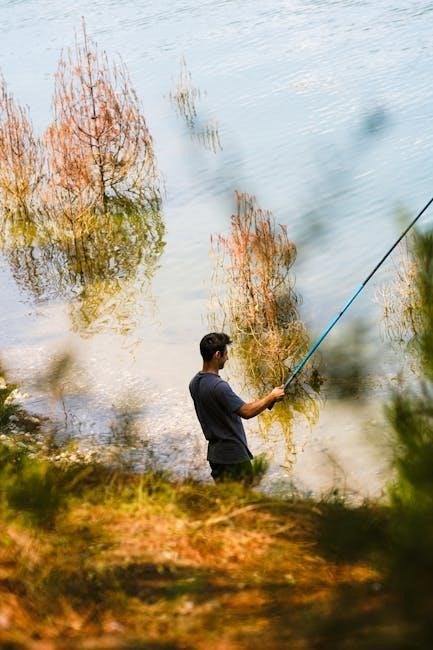
Ocean Fishing Areas
The ocean in Animal Crossing: City Folk offers vast fishing opportunities, with diverse fish species inhabiting its waters. Players can fish along the shoreline, near rocks, or off the pier. The ocean is home to popular fish like the Sea Bass and rare catches such as the Coelacanth. Weather conditions, like rain or sunny skies, influence fish activity. Fishing at specific times, such as during the evening or early morning, can yield better results. The ocean’s fish population varies by season, adding a layer of strategy. Exploring different ocean spots, including hidden coves, can reveal unique fishing experiences. The ocean’s diversity makes it a key location for anglers seeking rare and valuable fish to complete their collection or sell for profit.

Fishing Techniques
Fishing techniques in Animal Crossing: City Folk involve mastering bait selection, timing, and weather awareness to increase catch rates. Upgrading rods enhances fishing efficiency and reach, while understanding fish behavior helps players make informed decisions.
Choosing the Right Bait
In Animal Crossing: City Folk, selecting the right bait is crucial for successful fishing. Bait can be purchased from the local shop or crafted using bugs. Different baits attract specific fish, with higher-quality options increasing the likelihood of catching rare species. Using bait enhances the chances of reeling in larger or more valuable fish, making it a worthwhile investment for serious anglers. Experiment with various baits to discover which ones work best for your target fish. Remember, bait is consumed upon use, so stock up to avoid interruptions during fishing sessions. This strategic approach ensures a more rewarding and efficient fishing experience in the game.
Timing and Weather Effects
In Animal Crossing: City Folk, timing and weather significantly influence fishing success. Fish activity varies throughout the day, with some species appearing only at specific times, such as dawn, dusk, or night. Weather conditions like rain, clouds, or clear skies also affect fish behavior and availability. For example, certain fish are more active during rainy weather, while others prefer sunny conditions. Understanding these patterns allows players to maximize their fishing efficiency. Keeping an eye on the in-game clock and weather forecast helps anglers plan their sessions effectively. This strategic approach ensures better odds of catching desired fish and makes the fishing experience more dynamic and engaging.

Fishing Rod Upgrades
Upgrading your fishing rod in Animal Crossing: City Folk enhances your fishing experience by improving performance and versatility. The basic rod can be upgraded by purchasing better versions from Tom Nook’s store or by receiving them as rewards. Upgraded rods offer longer casting distances, faster reeling, and increased accuracy, making it easier to catch rare or elusive fish. Higher-tier rods also reduce the chance of fish breaking the line, allowing you to land larger catches successfully. Investing in rod upgrades is essential for serious anglers aiming to complete their fish collection or participate in fishing tournaments. Regular upgrades ensure you’re well-equipped to tackle any fishing challenge the game presents.

Seasonal Fishing Guide
Fish availability varies by season, with specific species appearing only during certain times of the year. Spring brings trout, while summer introduces exotic fish like the Arapaima. Fall and winter offer salmon and sturgeon, with rare fish like the Stringfish appearing in colder months. Weather and time also influence spawning patterns, making seasonal awareness crucial for completing your collection. Understanding these cycles helps you target the right fish at the right moment, maximizing your fishing efficiency and success in Animal Crossing: City Folk.
Spring Fish Availability
In Animal Crossing: City Folk, spring fishing offers a variety of species that appear during this season. Fish like the Pale Chub, Crucian Carp, and Dace are commonly found in rivers and ponds. The Trout, a moderately rare fish, also becomes available in mountainous river areas during spring. These fish tend to spawn during daylight hours, making early mornings and late afternoons ideal for catching them. Using the right bait, such as bait fishing lures, can increase your chances of reeling in these spring-specific fish. Knowing their locations and active times can help you efficiently catch them and complete your fishing journal or sell them for a good price.
Summer Fish Availability
Summer in Animal Crossing: City Folk brings a diverse range of fish to catch. Warm-water species like the Large Mouth Bass and Bluegill are abundant in ponds, while rivers host fish such as the Gar and Pike. The Ocean Sunfish, a rare and valuable fish, can be found in the sea during summer. These fish are most active during daylight hours, making mornings and afternoons the best times to fish. Using bait like insects or small lures can attract summer-specific fish. Players can take advantage of the season’s variety to complete their collection or sell fish for high profits. Summer fishing offers exciting opportunities to catch both common and rare species.
Fall and Winter Fish Availability
In Animal Crossing: City Folk, fall and winter offer unique fishing opportunities. During fall, fish like the Trout and Salmon appear in rivers, while the Tuna becomes available in the ocean. Winter introduces rare species such as the Stringfish, which can be found in rivers late at night, and the Blue Marlin, a valuable ocean fish active during the day. These seasons require players to adapt their strategies, as colder weather affects fish behavior and availability. Using appropriate bait and timing is crucial for success. Fall and winter fishing provide a fresh challenge and reward players with rare and high-value catches to complete their collection or sell for profit.
Rare Fish and How to Catch Them
Catching rare fish in Animal Crossing: City Folk adds excitement and challenge. These elusive species often appear under specific conditions, requiring precise locations and timing to catch successfully.
Legendary Fish in the Game
Legendary fish in Animal Crossing: City Folk are rare and highly sought after, offering significant rewards. The Coelacanth, for instance, is a legendary fish that appears only in the ocean under specific conditions. These fish often require precise locations, such as the mouth of the river or the ocean’s deepest points. Legendary fish are challenging to catch, but using the right bait and timing increases your chances. They are highly valuable, both for selling and donating to the museum. Catching these elusive creatures is a major achievement, showcasing your fishing mastery and dedication. Consistency and patience are key to landing these rare species.
Strategies for Catching Rare Fish
To successfully catch rare fish in Animal Crossing: City Folk, employing effective strategies is essential. First, understanding the specific habitats and times when rare fish appear is crucial. Using the right bait, such as live bait or lures, can significantly increase your chances of attracting rare species. Patience is key, as rare fish may take time to bite. Additionally, timing your fishing sessions during optimal weather conditions, such as rain or at dawn/dusk, can improve your success rate. Upgrading your fishing rod to enhance its range and sensitivity is also beneficial. Combining these tactics with persistence will enhance your ability to catch elusive rare fish and complete your collection.
Time-Specific Rare Fish
In Animal Crossing: City Folk, certain rare fish only appear during specific times of the day or year, adding an extra layer of challenge to catching them. For example, the Arowana and Arapaima are most active during the late-night hours, while the Golden Trout can only be found early in the morning. Seasonal fish like the Cherry Salmon are exclusive to certain months, making timing crucial. Additionally, some rare fish, such as the Stringfish, are only available during the winter months at specific times. Players must carefully monitor the in-game clock and adjust their fishing schedule accordingly to maximize their chances of encountering these elusive species and adding them to their collection.

Additional Tips and Tricks
In Animal Crossing: City Folk, timing and weather significantly impact fishing success. Using bait, upgrading rods, and experimenting with locations increase chances of catching rare fish.
Fishing Tournaments and Rewards
Fishing tournaments in Animal Crossing: City Folk occur regularly, offering players a chance to compete and earn exclusive rewards. These events are usually hosted by special characters and take place at specific times. Participants are judged based on the size or rarity of the fish they catch. Rewards often include rare furniture, unique rods, or other in-game items. To maximize your chances of winning, focus on catching high-value or rare fish, such as the legendary creatures. Timing and location play a crucial role, as certain fish only appear during specific seasons or weather conditions. Winning tournaments not only boosts your reputation but also enhances your fishing collection and customization options.
Donating Fish to the Museum
Donating fish to the museum in Animal Crossing: City Folk is a great way to contribute to your town’s culture and earn rewards. The museum’s curator, Blathers, will accept fish donations to display in the aquarium. Each fish you donate helps complete the museum’s collection and may unlock special achievements or items. Donating rare or large fish often results in unique rewards, such as exclusive furniture or boosts in reputation. Additionally, donating fish supports the game’s community aspect, as a fully stocked museum benefits all players. Regular donations also encourage you to explore various fishing spots and times, enhancing your overall gaming experience.
Fishing Etiquette and Multiplayer Interaction
Fishing in Animal Crossing: City Folk offers a peaceful experience, but it’s important to practice good etiquette, especially in multiplayer mode. Respect other players by avoiding crowding their fishing spots, as this can disrupt their gameplay. When visiting friends’ towns, refrain from overfishing rare species, as this may deprive the town’s ecosystem. Multiplayer fishing can be enjoyable, as players can trade fish or share tips. However, always ask permission before fishing in private ponds or near other players’ setups. Good manners foster a positive community, making the game more enjoyable for everyone. By being considerate, you can maintain harmony and build lasting friendships in the game.